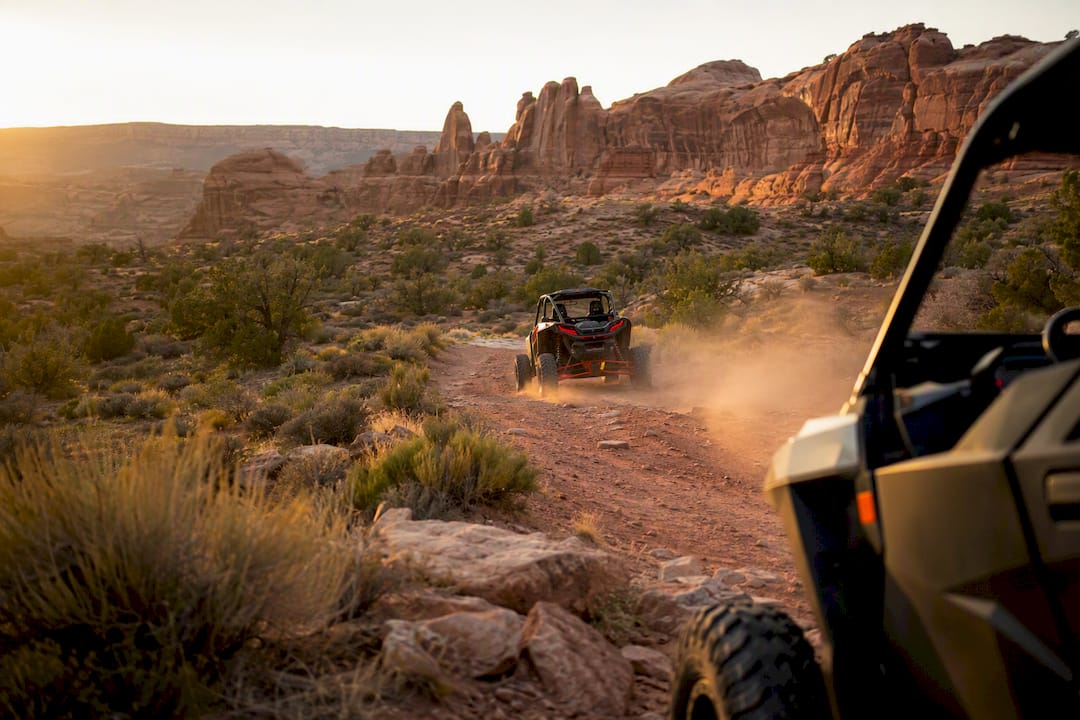
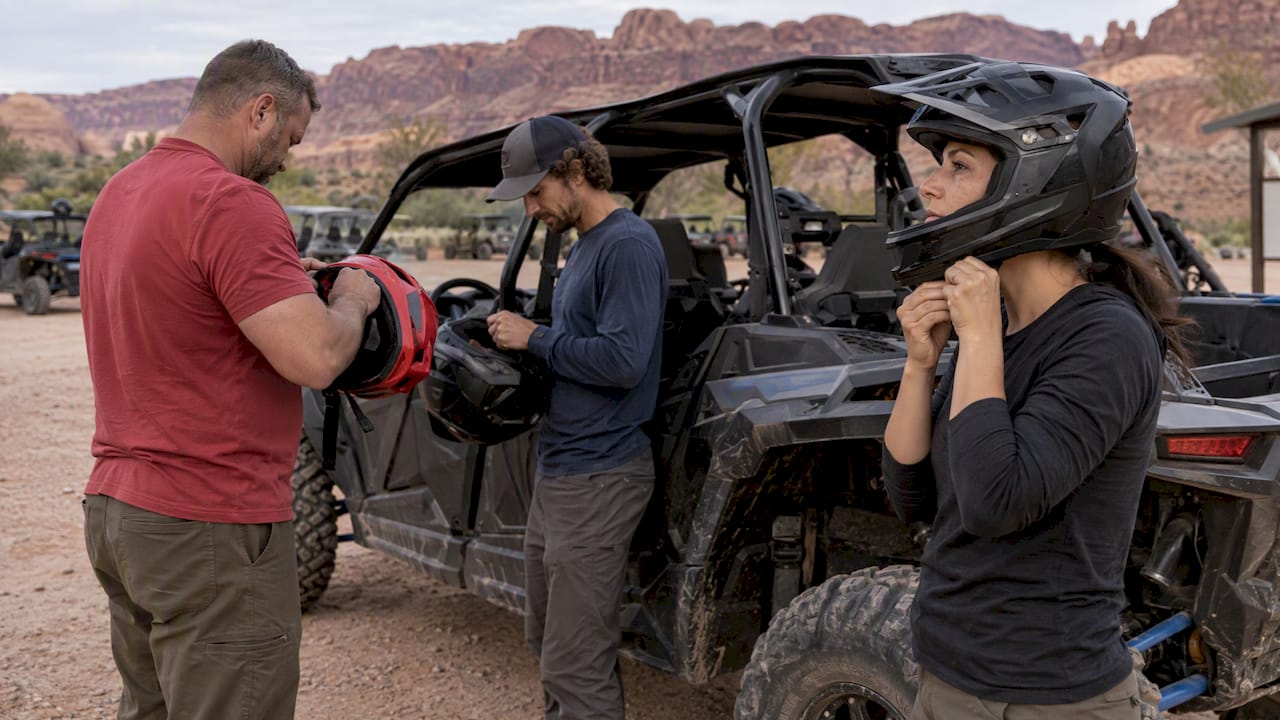
Book a guided UTV tour or a you-drive Polaris rental built around two to three guide-staged photo stops timed for golden hour, protect your gear with mounts and tethers, follow your guide’s staging cues, and spend fifteen minutes editing afterward. That sequence reliably produces camera-ready, memorable photos, and it’s the difference between a folder of blurry dashboard shots and a highlight reel you actually watch again.
Three things to do before you book:
- Pick your window. Reserve a morning or late-afternoon slot so your route hits overlooks during golden hour.
- Pack light but smart. A phone mount, a tether strap, and a spare battery pack cover 90% of what you’ll need.
- Plan for two or three stops, not twenty. Three well-chosen, guide-selected stops beat a dozen rushed ones.
Epic4x4adventures runs a 2026 Polaris fleet with over 4,700 five-star reviews backing its approach to guided, photo-friendly trail days. This guide comes from PHENYX’s editorial research into what actually works on Moab’s trails.
Key Takeaways
The best trail memories come from timing your ride for golden hour, protecting your gear with mounts and tethers, and trusting a guide’s staged stops over a long list of planned poses.
| Point | Details |
|---|---|
| Book golden hour | Morning or late-afternoon slots produce dramatically better light and lighter trail traffic. |
| Pack for protection | Bring a vibration-rated mount, a tether, a dust case, and a charged spare battery. |
| Shoot only when stopped | Follow guide directions and never attempt a shot while the vehicle is moving. |
| Assign simple roles | Lead rider, phone photographer, safety spotter, and memory keeper keep the day organized. |
| Book with Epic4x4adventures | A 2026 Polaris fleet, $0 damage deposit option, and 4,700+ five-star reviews back guided, photo-friendly trail days. |
Table of Contents
- How Do You Schedule and Pack for a Camera-Ready Trail Day?
- What Camera Settings and Composition Tricks Work Best on the Trail?
- How Do You Choreograph Group Photos Without Slowing Everyone Down?
- What’s the Fastest Way to Turn Raw Footage Into Shareable Memories?
- Why Guided Trips Produce Better Camera-Ready Memories
- What Most Trail Photography Advice Gets Wrong
- Ready to Book Your Golden-Hour Photo Stops?
- Frequently Asked Questions
- Sources
How Do You Schedule and Pack for a Camera-Ready Trail Day?
Timing decides more of your photo quality than any camera setting ever will. Guides who plan routes to hit key overlooks during golden hour, the hour or so after sunrise and before sunset, consistently produce more dramatic, usable images than midday rides, when Moab’s red rock flattens under harsh overhead light. If you’re choosing between a 9 a.m. slot and a 5 p.m. slot, take the one closer to sunset. It also tends to have lighter trail traffic, which means fewer strangers in your frame at Hell’s Revenge or Fins and Things.
Choosing between a guided tour and a you-drive rental come down to how much you want to focus on driving versus framing shots. First-timers on technical terrain benefit from a guide who reads the trail and paces the group, which frees you to actually look around instead of white-knuckling the wheel. If you already know your way around a UTV and want full control of your route and stops, a self-drive rental with built-in GPS navigation still gets you to the same scenic pull-offs. You can plan a guided you-drive tour that splits the difference: guide support with driver’s-seat freedom.
Your packing list should fit in a small dry bag:
- A phone or action-camera mount rated for vibration (helmet, chest, or roll-cage handlebar mount, depending on the shot you want).
- A wrist or lanyard tether for any device you’re not mounting.
- A dust-resistant phone case or a dry pouch for a mirrorless camera body.
- A spare battery or compact power bank, since cold mornings and constant video recording drain phones fast.
- A microfiber cloth for the red dust that finds every lens within minutes.
Dress for sun and grit, not just temperature. Long sleeves, sunglasses with a strap, and a buff or bandana for dust protection make the ride more comfortable, which shows in your face in every photo. For the wider trip checklist, including hydration and layering advice, Epic4x4adventures’ packing guide covers what most first-timers forget.
Expect a safety briefing before you roll out, followed by a rhythm of technical sections and open-view stops. That back-and-forth of a stretch, then a stop, then another stretch, is exactly how Moab UTV tours turn challenging terrain into accessible adventure, and it’s also what naturally produces your best photo opportunities.
What Camera Settings and Composition Tricks Work Best on the Trail?
Your mount choice should match the shot. A chest mount captures your hands on the wheel and the trail ahead, useful for a first-person feel. A helmet mount gets a wider point-of-view angle that shows more sky and rock. A handlebar or roll-cage mount is steadier for passenger shots and works well for capturing a driver’s expression without you holding anything.
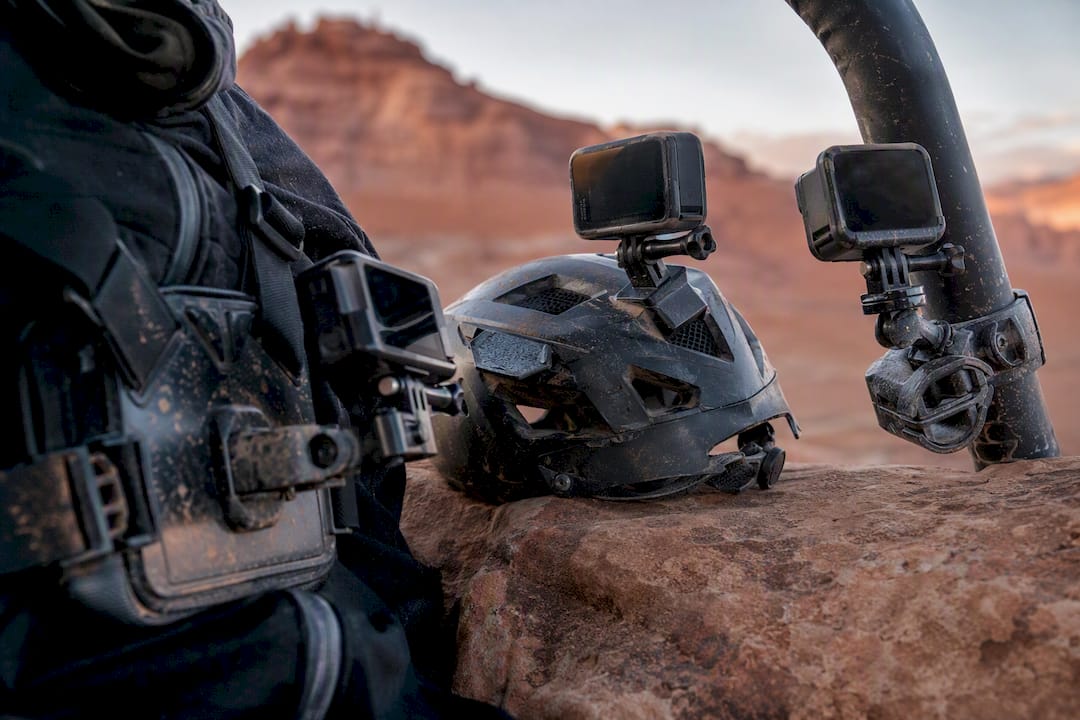
Action cameras built for motion, GoPro-style devices, remain the best single tool for point-of-view footage on a moving UTV. A DSLR or mirrorless camera captures sharper stills, but only at a full stop; the vibration and dust of a moving vehicle are hard on glass and sensors, and changing lenses in the open invites grit straight into your camera.
For action shots while moving:
- Use burst mode so you catch the peak moment, not the half-second before or after it.
- Keep shutter speed reasonably fast to avoid motion blur on rough terrain.
- If your camera has stabilization, turn it on. If not, brace your mount rather than your hands.
Composition matters more than gear. Use the UTV’s hood or roll cage as foreground interest to add depth to a canyon shot. Look for leading lines: a trail curving toward a distant arch, tire tracks disappearing over a ridge. A low camera angle on the vehicle itself makes it look more heroic against the rock. And always include a person somewhere in the frame when you can. A rider standing at the edge of an overlook gives scale to a landscape that otherwise reads as flat and abstract.
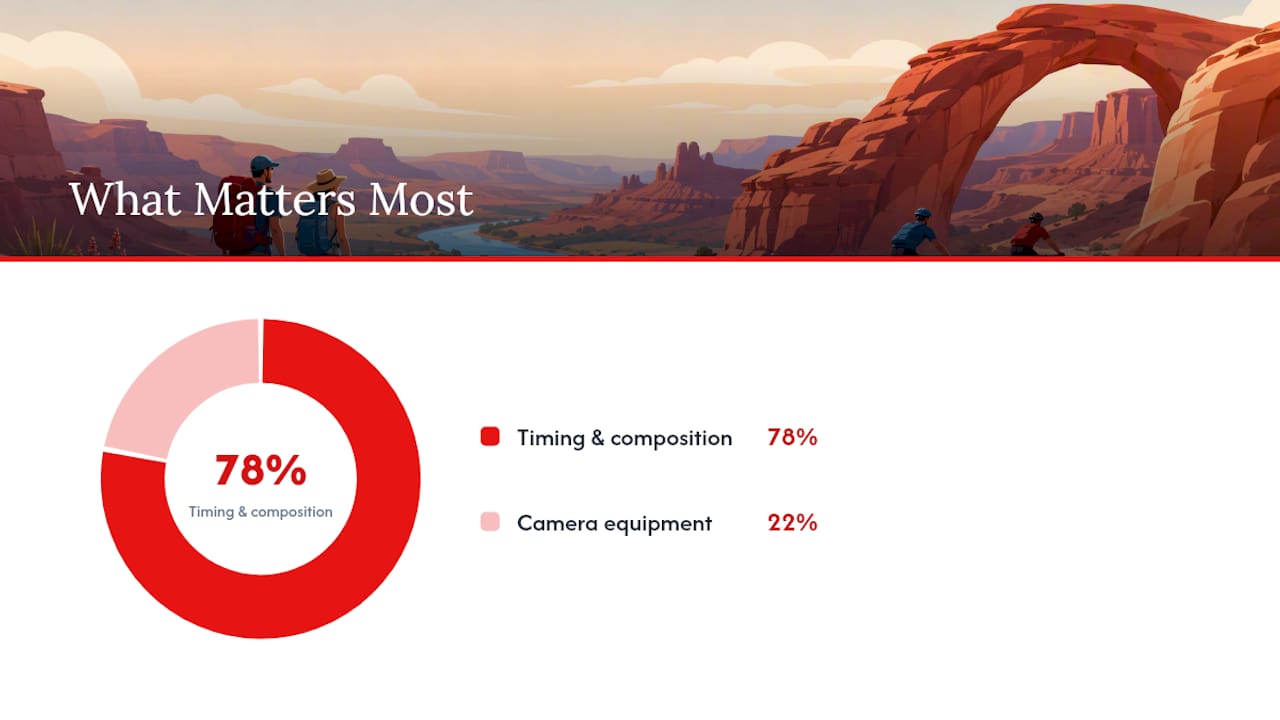
Roughly 78% of memorable trail photos come down to timing and composition choices made at the stop itself, not camera specs. That’s the real lesson: you don’t need a better lens, you need a better stop.
Guides typically choose stopping points with clear sightlines and enough space for the group to spread out, and many will offer to take photos themselves at major overlooks so everyone gets the same solid angle without fumbling their own phone. Let them. A guide who’s shot that exact viewpoint fifty times knows where the light hits best.
One rule overrides everything else: only shoot when the vehicle is fully stopped, and always follow your guide’s instructions on where to stand and when to move. Dusty, uneven terrain is not the place to improvise a shot while rolling.
How Do You Choreograph Group Photos Without Slowing Everyone Down?
A little pre-ride planning turns a scattered group into a coordinated one, and it costs you almost no time on the trail. Assign informal roles before you leave the staging area:
- Lead rider sets the pace and calls out when a stop is coming.
- Phone photographer (often whoever isn’t driving) handles quick candid shots between planned stops.
- Safety spotter watches for other vehicles and keeps kids or less confident riders clear of moving traffic during stops.
- Memory keeper grabs the group shot at each major overlook, rotating in and out of frame so nobody’s missing from every photo.
Follow a simple shot sequence through the day: a pre-ride shot at the staging lot, action shots through the first technical stretch, a group portrait at the first big overlook, close-up detail shots (tire tracks, rock texture, hands on the wheel), candid reactions during a snack break, and a celebration shot back at base.
For multi-generational groups, stage the overlook shot first while everyone’s fresh, then let candid moments happen naturally afterward. If you’re bringing grandparents or young kids, a family-focused Moab itinerary helps you plan stops that work for every energy level in the group, not just the fastest riders.
What’s the Fastest Way to Turn Raw Footage Into Shareable Memories?
Don’t scroll through 200 photos hunting for the good ones. Do a fast first-pass cull instead: delete obvious duplicates and blurry bursts immediately, keeping only the two or three best frames from each stop.
From there, a few quick mobile edits go a long way:
- Bump exposure slightly on shots taken in canyon shadow.
- Warm up the color temperature to match Moab’s red rock tones.
- Crop out stray gear bags or other vehicles at the frame edge.
- Boost contrast just enough to make rock texture pop without looking artificial.
Apps like Lightroom Mobile or built-in phone editors handle all four in under a minute per photo. If you shot video clips at each stop, string together a 30 to 60 second highlight reel using your phone’s native editor. Trim to the best three or four clips, cut on the action, and skip the fancy transitions. That short reel gets watched all the way through far more often than a 10 minute raw upload.
Back everything up the same night, either to your phone’s cloud service or a shared album, and share it with everyone in your group before memory fades into “we should do that again sometime.”
Why Guided Trips Produce Better Camera-Ready Memories
Epic4x4adventures runs its Moab tours and rentals on a fleet of brand-new 2026 Polaris vehicles, each equipped with built-in GPS navigation for straightforward exploration around Canyonlands and Arches. A few things separate a guided day here from a generic rental:
- An exclusive $0 damage deposit option removes the financial stress that makes some drivers too cautious to enjoy the ride.
- Guided tours are led by local terrain experts who know exactly where the light hits best at each overlook.
- The company’s 4,700+ five-star reviews reflect consistent satisfaction across guided and self-drive experiences.
A guide who’s staged the same overlook fifty times can turn a standard viewpoint into a full sequence: the approach shot, the group portrait, the low-angle hero shot of the vehicle, and the candid laugh as everyone climbs back in. One stop becomes four usable photos instead of one rushed selfie.
For a real example of that staging in action, read our family’s three-generation Moab UTV adventure, where a single planned overlook stop produced the trip’s best shots.
What Most Trail Photography Advice Gets Wrong
Most guides to outdoor photography treat gear as the answer. Buy the right mount, learn the right settings, and good photos follow. That advice undersells the one variable that actually drives results on a Moab trail: who’s choosing your stops.
The research is consistent on this point. Guides who plan routes around golden hour, pick overlooks with clean sightlines, and build in a rhythm of technical stretches followed by open stops produce better photo opportunities than any solo driver managing a route and a camera at once. That’s not a knock on self-drive rentals. It’s a case for treating your guide’s staging as part of your photography kit, not separate from it.
Where I’d push back on convention: don’t over-plan your shot list. A rigid list of ten poses per stop kills the candid energy that makes trail photos feel real. Prioritize one solid group portrait per major stop, then let your phone photographer catch whatever happens naturally in between. The posed shot proves you were there. The candid shot is the one you’ll actually remember.
If you take one thing from this guide, take this: book the golden-hour slot before you buy a single piece of gear. Timing beats equipment every time.
Ready to Book Your Golden-Hour Photo Stops?
Epic4x4adventures is the direct way to get everything covered here without piecing it together yourself: a 2026 Polaris fleet with built-in navigation, guides who already know where the light and the sightlines line up, and an optional $0 damage deposit that lets you focus on the ride instead of worrying about scratches. Families, first-timers, and experienced off-roaders all get the same guide-staged photo stops that turn a standard overlook into a full sequence of usable shots.
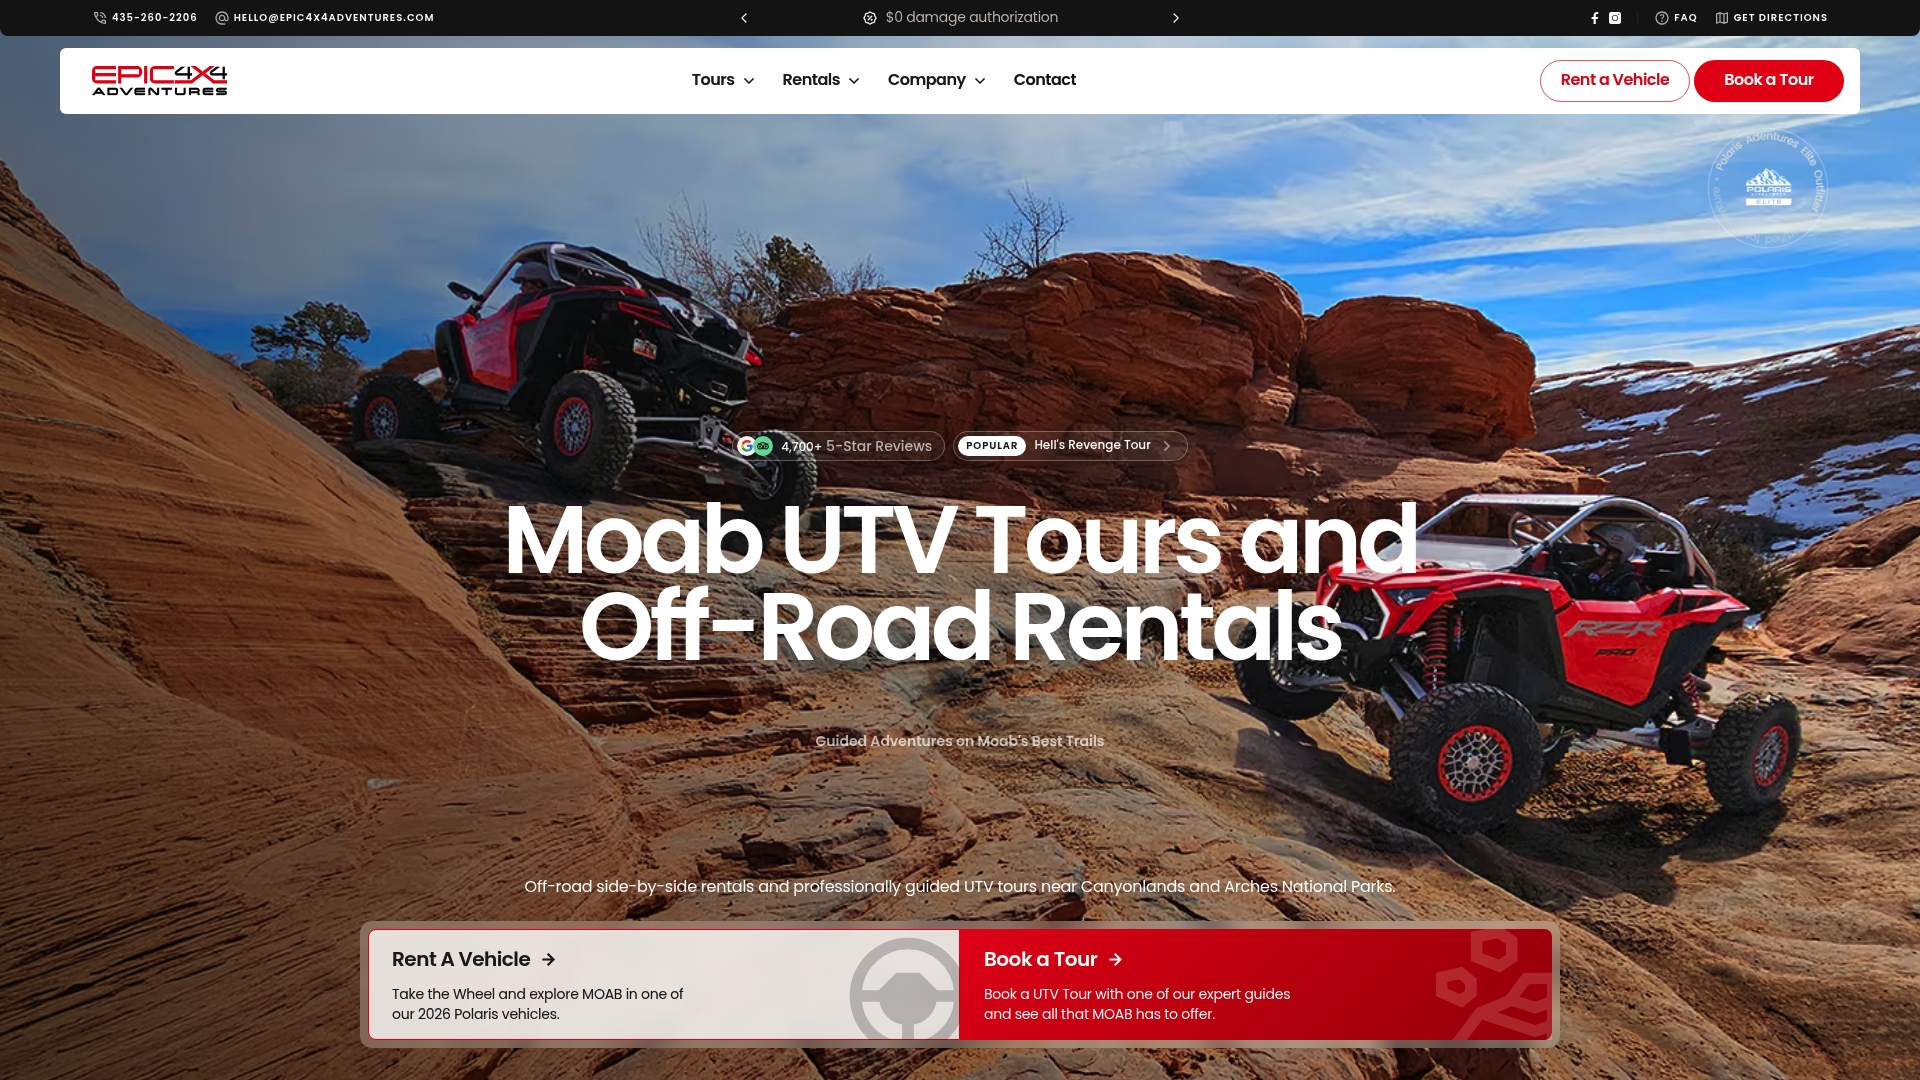
Reserve a golden-hour slot on the full tour lineup or check available dates and vehicles on the 2026 Polaris RZR rental page to lock in your preferred time before it fills. If you’re pairing your trip with a place to stay and eat afterward, this lodging and dining guide is worth a look too.
Frequently Asked Questions
What is the best time of day to book a UTV tour for photos? Early morning or late afternoon gives you golden hour light, when the sun sits low and Moab’s red rock takes on richer color. Midday light tends to look flat and washed out in comparison.
Do I need a professional camera for good trail photos? No. An action camera handles motion shots well, and your phone covers most stopped shots just fine. A DSLR or mirrorless camera adds quality at full stops but needs real protection from dust and vibration.
Should I choose a guided tour or a you-drive rental for better photos? A guided tour takes the pressure off route planning and photo staging, which usually means more usable shots per stop. A you-drive rental works well if you already know the terrain and want full control over your route and timing.
How many photo stops should a UTV tour include? Two to three well-chosen stops beat a dozen rushed ones. Quality of the stop, clear sightlines, good light, and enough space to compose a shot, matters more than quantity.
What’s the fastest way to edit trail photos after the ride? Cull duplicates and blurry bursts first, then apply quick mobile edits: exposure, warmth, and cropping. A short highlight reel of your best video clips, 30 to 60 seconds, is more watchable than a long raw upload.
Sources
- An ATV Rider’s Guide to Scenic Photo Spots in Smoky Mountains
- ATV Desert Adventure Photography: 11 Astonishing Tips for Epic Action Shots
- UTV Photography Tips to Capture Stunning Outdoor Shots - Sedona Off-Road Center
- How to Capture the Best Photos & Videos on Your Bali ATV Ride - Dadi Bali Adventures
Recommended