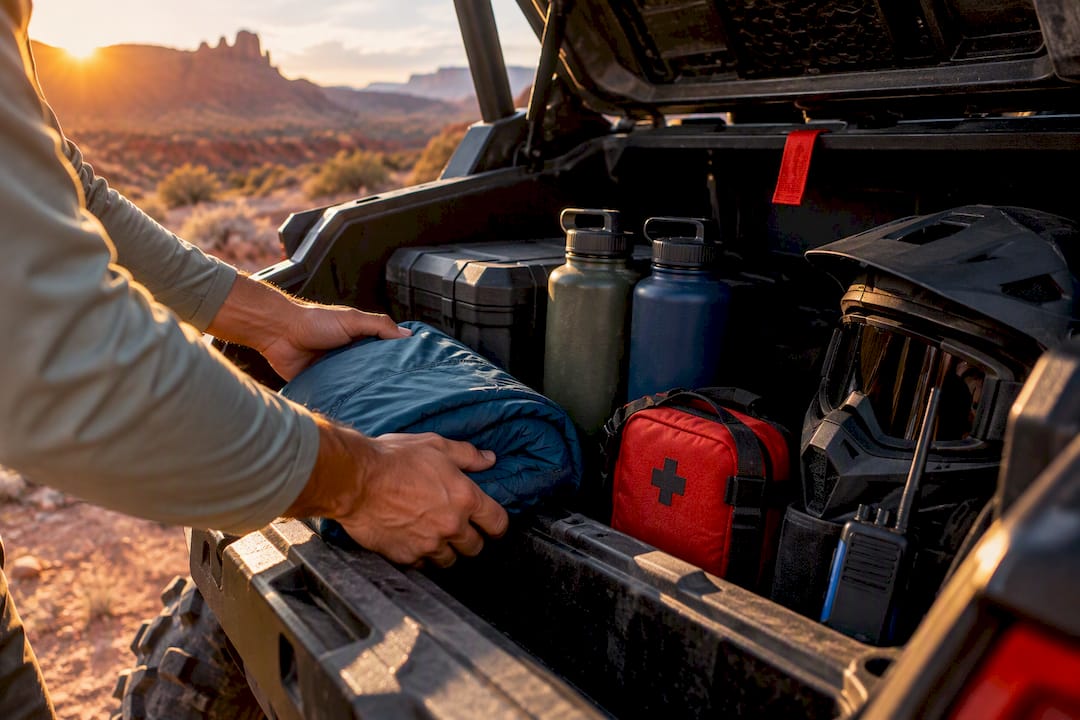
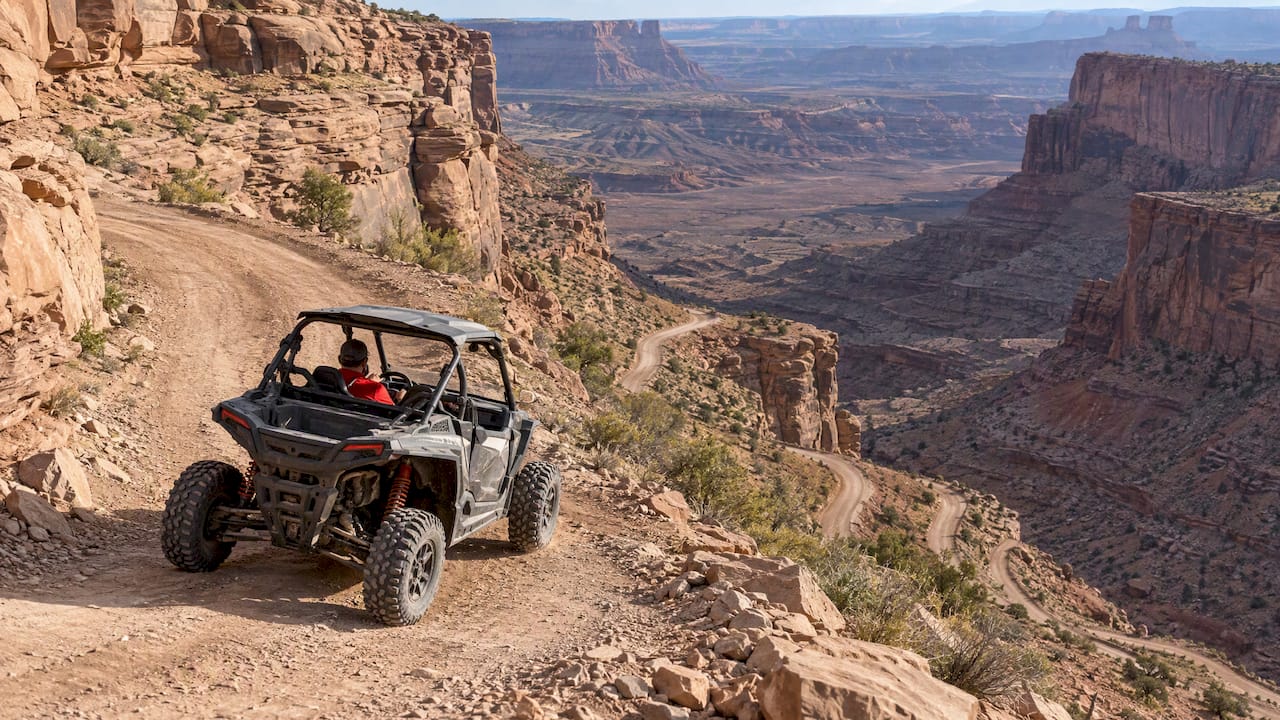
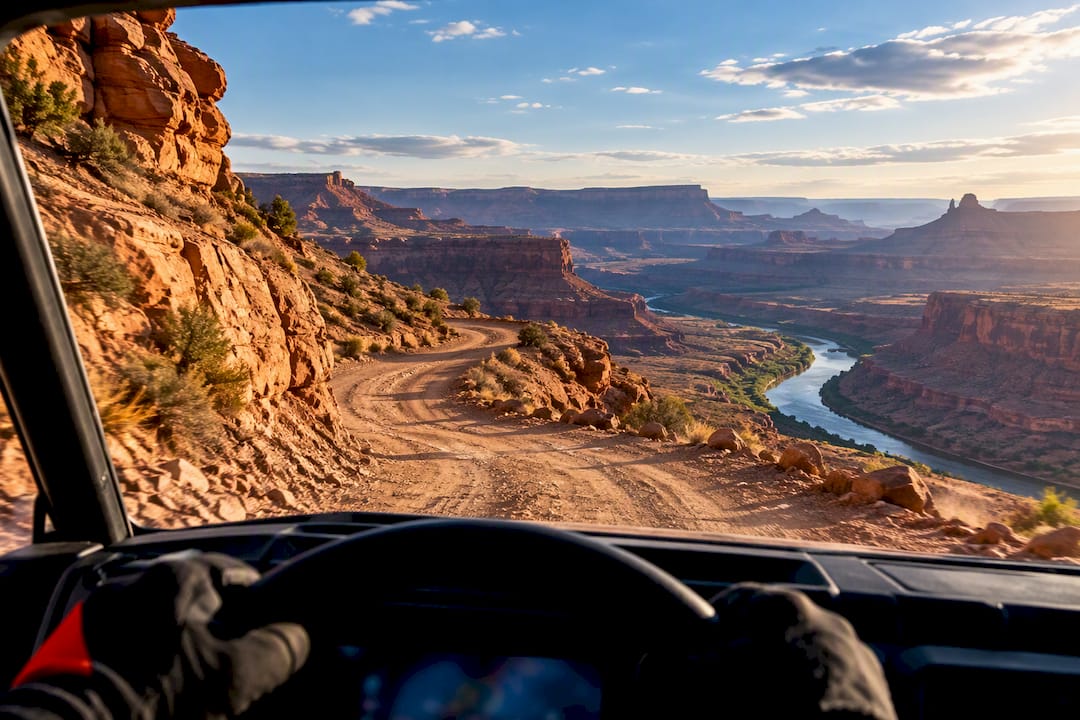
Pack a DOT-certified helmet with goggles, 3 to 4 liters of water per person, sun protection, moisture-wicking layers, sturdy closed-toe shoes, a small first-aid kit, a tire repair kit, and a way to communicate if cell service drops. Moab’s desert swings hard between cold mornings and blazing afternoons, so layering matters as much as hydration. These essentials cover the two things that end most trips early: heat illness and mechanical trouble.
TL;DR:
- A hydration plan of at least two to three liters per person is essential, with additional water and electrolytes for longer backcountry trips.
- Layered clothing, including moisture-wicking base layers, a mid-layer, and a windproof outer shell, is vital to handle Moab’s temperature swings.
- Sturdy, grippy footwear, DOT-certified helmets, goggles, and gloves are crucial for safety and performance on slickrock trails.
- Carrying essential safety gear such as a first-aid kit, satellite communication device, and basic vehicle repair tools prevents common emergencies.
- Guided tours with built-in GPS simplify route-finding and vehicle maintenance, reducing packing stress and enhancing safety.
Table of Contents
- Why Moab weather dictates your entire packing list
- Clothing and layering: what actually works on the trail
- Footwear, gloves, and eye protection for slickrock trails
- How much water to carry and how to stay ahead of the heat
- What to keep in your day bag for quick access
- Safety and survival gear you shouldn’t skip
- Vehicle prep and the spares that keep you moving
- Keeping your gear organized and protected on the trail
- Adjusting your list by season
- What guests forget most often
- How Epic 4x4 Adventures takes packing pressure off your trip
- Where to check permits, safety guidance, and booking details
- Sources
- FAQ
Why Moab weather dictates your entire packing list
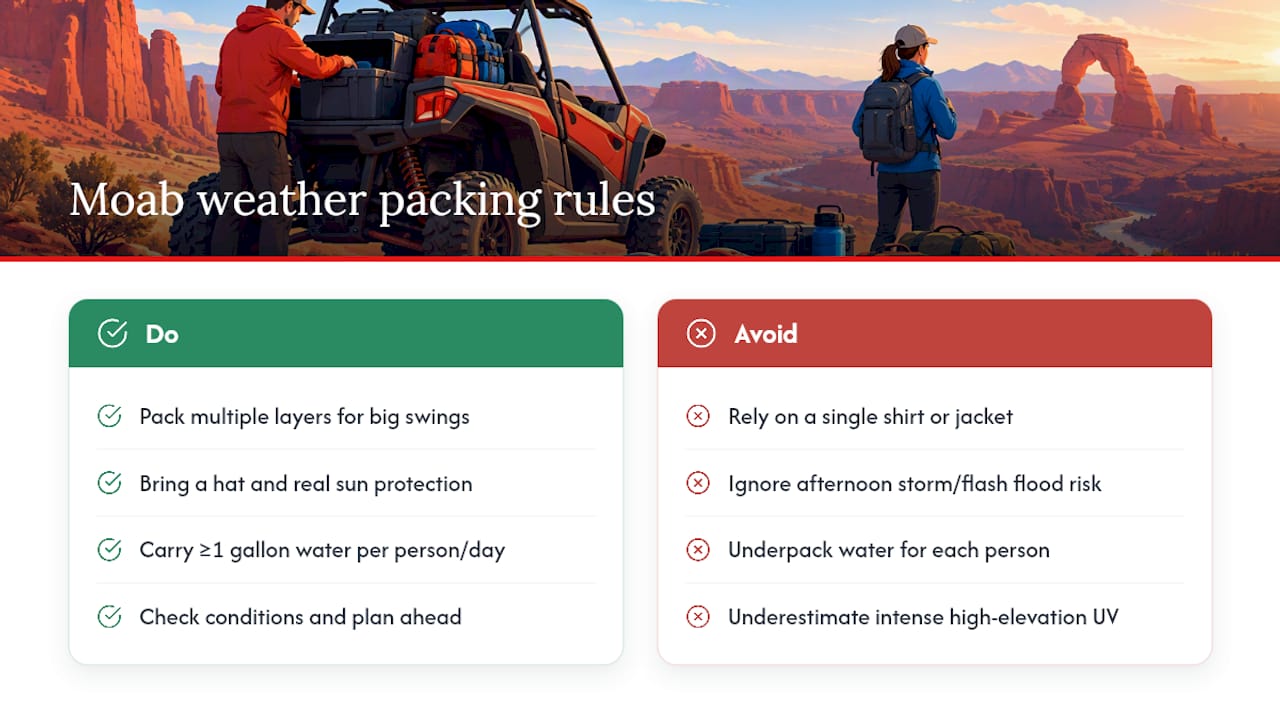
Moab sits at high desert elevation, where mornings can start near freezing and afternoons climb well past 90 degrees within the same day. That swing is why a single jacket or single shirt never works for a full day on the trail. UV exposure is intense at this elevation, so a hat and real sun protection matter more than most riders expect before their first trip.
Summer brings monsoon season, when afternoon storms can trigger flash floods in canyons and washes with little warning. Utah requires all OHV operators on public land to complete an education course, and that same operational mindset, checking conditions and planning ahead, applies to what you pack.
BLM guidance recommends drinking at least a gallon of water per person, per day, in desert conditions like Moab’s. That single number should shape how much water you load before you ever start the engine, according to BLM Moab visitor guidance.
Clothing and layering: what actually works on the trail
Cotton holds sweat and dries slowly, which makes it a poor choice once temperatures shift. A three-layer system handles Moab’s range without forcing you to carry a full wardrobe.
- Base layer: synthetic or merino wool fabric that wicks moisture and doesn’t hold odor on multi-day trips.
- Mid layer: a light fleece or insulated vest you can add at sunrise and shed by mid-morning.
- Outer layer: a windproof, lightly waterproof shell for monsoon showers, dust, and afternoon wind gusts.
A sun hoodie works well as a standalone layer during peak heat since it blocks UV without trapping warmth the way a heavier shirt does. Convertible pants that zip into shorts save you from packing two garments for the same body part.
Pro Tip: Keep your mid layer in an easily reachable pocket or day bag pouch so you can add or shed it without stopping the ride for long. A full breakdown of what to wear across seasons is covered in Epic 4x4’s packing guide.
Footwear, gloves, and eye protection for slickrock trails
Slickrock rewards grip and punishes slippery soles, so footwear choice matters more on a Moab trip than on most drives.
- Footwear: broken-in hiking boots or grippy trail runners with real tread, never flat-soled sneakers or sandals.
- Gloves: riding gloves with enough padding for vibration control but thin enough for dexterity on switches and straps.
- Eyes: goggles for dusty, high-speed sections; polarized sunglasses for slower cruising and glare control.
- Head: a DOT-certified helmet, which Utah recommends for all riders and requires for operators under 18.
Break in new gloves and boots before the trip. Stiff leather or unworn tread on slickrock is a common cause of blisters and slips during short hikes off the vehicle.
How much water to carry and how to stay ahead of the heat
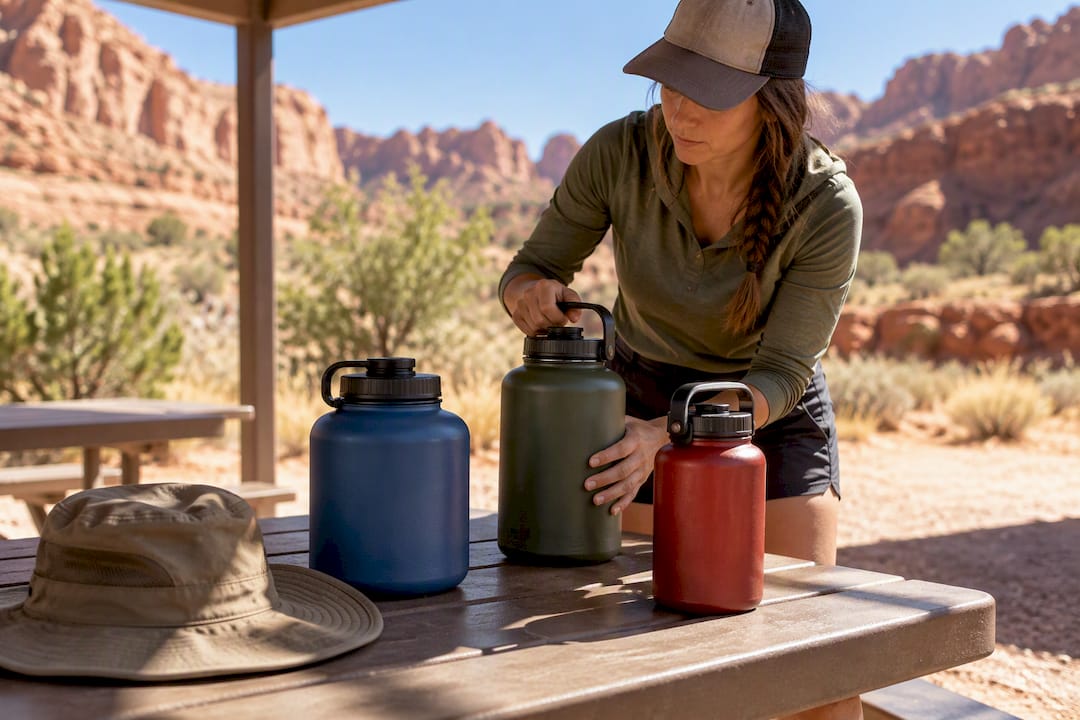
NPS park rangers recommend several liters of water per person for front-country hikes and more for backcountry travel, a range that applies directly to a full day of UTV riding around Arches and Canyonlands, according to Arches National Park guidance.
Electrolyte mixes matter as much as plain water once you’re sweating through a full afternoon. Sun protection rounds out the hydration plan:
- A UPF-rated sun hoodie or wide-brim hat that shades your neck and ears.
- Broad-spectrum sunscreen reapplied every two hours, plus an SPF lip balm.
- UV-blocking sunglasses for long stretches of open trail.
A hydration bladder mounted in a day bag gives hands-free sipping, while an insulated bottle in a cup holder keeps water cold longer on shorter runs. Either works, but mount it somewhere you can reach without unbuckling.
What to keep in your day bag for quick access
Keep the items you’ll need without stopping the vehicle in a small day bag or on your person, not buried in a cargo box.
- Compact first-aid kit with bandages, blister pads, and pain relievers.
- Multitool for quick adjustments to straps, gear, or minor vehicle fixes.
- Sunscreen, SPF lip balm, and sunglasses for constant sun exposure.
- A buff or bandana to cover your face during dusty stretches.
- Salty snacks like jerky or trail mix that are easy to eat one-handed.
- A spare pair of socks and a compact rain shell for sudden weather shifts.
Dry bags and zipped pockets keep dust and grit off anything electronic or absorbent. A day bag organized this way means fewer stops and less digging through gear at every overlook.
Safety and survival gear you shouldn’t skip
Cell coverage drops fast once you’re deep in canyon country, so your safety kit needs to work without a signal.
- First-aid kit: stocked for cuts, sprains, and blisters, with basic familiarity in how to use it.
- Communication: a satellite messenger or personal locator beacon for remote routes, plus handheld radios for staying in touch within a group.
- Recovery gear: a tow strap and D-ring shackles for getting unstuck, a tire plug kit, and a portable compressor for slow leaks.
Outfitter-style prep checklists built for Moab consistently list helmets, first-aid, GPS, radios, water, and tire repair kits as the non-negotiables for a day on these trails.
Pro Tip: Agree on a check-in time with someone off the trail before you leave cell coverage, so a delay doesn’t turn into a search. Helmets are required by law for riders under 18 and strongly recommended for everyone else.
Vehicle prep and the spares that keep you moving
A few minutes of pre-ride checking prevents most of the breakdowns that strand riders on technical terrain.
- Check tire pressure, tread, and look for visible cuts or bulges.
- Test brakes, harnesses, and fluid levels before you leave the lot.
- Confirm the battery connection and charge, especially after storage.
- Pack a spare drive belt and the tools to install it, since belt failure is a common cause of being stranded on rocky terrain, according to Hardline Products’ belt guidance for Moab riders.
- Load a tire plug kit, a portable compressor, and a basic hand tool set.
Keep heavy items low and centered in the vehicle. Weight stacked high or off to one side changes handling on tilted slickrock more than most riders expect.
Keeping your gear organized and protected on the trail
Cargo boxes, dry bags, and a small cooler handle most of what you’re carrying, but securing them matters as much as packing them. Straps or cargo nets stop gear from shifting or bouncing loose on rough sections.
- Seal phones, cameras, and radios in waterproof bags before you hit dusty or wet stretches.
- Bring a power bank and spare batteries for anything that runs your navigation or communication.
- Stow water, tools, and your first-aid kit within arm’s reach, not under everything else in the cargo box.
A little planning here saves real time later, since digging through a packed cargo box mid-trail costs more than the extra minute it takes to load it right.
Adjusting your list by season
Moab’s packing list shifts with the calendar more than most desert destinations, since spring wind, summer heat, fall cool spells, and winter cold all call for different gear.
- Spring: add a windproof shell, dust protection for your face, and an extra layer for cold mornings.
- Summer: prioritize a sun hoodie, extra water, and a lightweight rain jacket for monsoon storms; avoid midday heat where possible.
- Fall: pack a warmer mid-layer and a beanie for cool mornings and evenings.
- Winter: bring insulating base layers, waterproof boots, and traction devices if you plan to hike off the vehicle.
Summer heat planning gets its own attention in Epic 4x4’s guide to beating the Moab heat, which covers timing rides around the hottest hours.
What guests forget most often
Guides see the same gaps trip after trip: riders run out of water faster than planned, forget SPF lip balm until their lips are cracked, or pack one pair of socks for a trip that gets their feet wet or dusty by lunch. None of these are dramatic failures, but they’re the small discomforts that turn a good day into a rough one.
A simple fix is keeping a “go box” in your vehicle with spare layers, socks, and basic tools, so you’re never reorganizing your pack at a trailhead. It’s a small habit that pays off on every trip after the first one.
— PHENYX
How Epic 4x4 Adventures takes packing pressure off your trip
Renting or booking a guided tour removes several of the biggest packing headaches. This UTV rental and tour operator uses a modern fleet of vehicles equipped with built-in GPS navigation, so you’re not relying solely on paper maps or a phone app with no signal.
- The vehicles come prepared for trail use, and guided tours include entry fees.
- Built-in navigation reduces the need to carry a dedicated GPS unit.
- Damage deposit options and guided tours led by local terrain experts add a layer of confidence for visitors.
You still need your personal gear, water, and clothing layers, but the mechanical prep and route-finding are handled. Compare UTV rentals or browse guided tour options like the Moab Discovery Tour and Poison Spider Mesa Tour to see what fits your plans.
Where to check permits, safety guidance, and booking details
- Utah OHV education course for required operator certification and non-resident permits.
- Arches National Park heat guidance for water and timing recommendations.
- BLM Moab visitor guide for desert hydration and flash flood prep.
- Epic 4x4 rental requirements for what’s included with a booking.
Sources
- Off-Highway Vehicles — OHV Education | Utah Office of Outdoor Recreation
- Arches and Canyonlands Urge Visitors to Take Precautions During Extreme Heat - Arches National Park
- BLM Moab visitor guide (Moab Field Office visitor guidance PDF)
- How to prep your UTV for Moab’s rocks and ruts | SuperATV Off-Road Atlas
FAQ
What are the must-haves for side-by-side riding?
The core list includes a DOT-certified helmet, goggles, gloves, sturdy closed-toe shoes, at least 3 to 4 liters of water per person, sun protection, and a basic first-aid and tire repair kit. Moisture-wicking layers matter as much as any single piece of gear given Moab’s daily temperature swings.
What should I pack for a trip to Moab, Utah?
Pack layered clothing for cold mornings and hot afternoons, sturdy footwear, sun protection, and enough water to match NPS recommendations of two to three liters for front-country activity and four or more liters for longer backcountry days. A first-aid kit, navigation tool, and basic vehicle recovery gear round out a safe packing list.
What are the best UTV trails in Moab, Utah?
Moab offers a range of trails from beginner-friendly routes to technical terrain like Hell’s Revenge and Poison Spider Mesa, each suited to different skill levels and vehicle types. Choosing a trail depends on your experience, group size, and whether you’re driving yourself or joining a guided tour.
What should I wear for UTV trail riding?
Wear moisture-wicking base layers, avoid cotton, and add a light mid-layer plus a windproof or lightly waterproof outer shell for changing conditions. Closed-toe shoes with grip, riding gloves, and a helmet with goggles or sunglasses complete a practical trail outfit.
Do I need a permit to ride a UTV in Moab?
Utah requires OHV operators on public land to complete a free education course, and non-resident permits cost $35 and are valid for 12 months where applicable. Riders under 18 need a youth certificate before operating a vehicle on designated trails.
Recommended